How to Install a Solar Hybrid PCU: Complete Guide — Wiring, Safety & LED Indicators

Installing a solar hybrid PCU? Proper solar PCU installation — panel mounting, series/parallel wiring, battery hookup, earthing and commissioning — decides the safety, efficiency and lifespan of your whole solar system. Follow this 9-step professional installation process used by Su-vastika service engineers.
Step 1 — Pre-Installation Planning
- Site assessment: pick a shade-free area for panels (south-facing in India and the Northern Hemisphere) and a dry, ventilated spot for the PCU and batteries.
- Load calculation: total up the wattage of the appliances you'll run to size the PCU, battery bank and solar array correctly.
- Component selection: match PCU system voltage (12V/24V/48V) and capacity (3kW/5kW etc.), then choose panels and batteries per the PCU manufacturer's specifications.
Step 2 — Safety Precautions
Wear insulated gloves and safety goggles, switch off all power sources before touching any wiring, and use tools with insulated handles. Solar arrays produce live DC whenever the sun is up — treat every PV cable as energised.
Step 3 — Mounting the Solar Panels
- Mounting structure: fix aluminium or galvanised steel racks on the roof or ground at the correct tilt (your latitude ±15° for best year-round sunlight). Ground the structure if it is metal.
- Secure the panels: bolt panels to the racks with clamps, leaving small gaps for thermal expansion and maintenance access.
Step 4 — Wiring the Solar Panels
- Series vs parallel: series connections ((+) to (−)) add voltage — e.g. two 24V panels make 48V; parallel connections ((+) to (+)) add current. Stay within the PCU's PV input voltage and current limits — check the manual.
- DC wiring: use UV-resistant, double-insulated solar cable to the manufacturer's recommended gauge. Fit an isolator switch and DC fuse between panels and PCU if these aren't built into the PCU.
- Connectors: use proper MC4 connectors and double-check polarity to avoid short circuits.
Not sure how to pick the right string voltage? See our dedicated guide on matching solar panel and battery voltages in a solar hybrid PCU.
Step 5 — Installing the Batteries
- Battery bank setup: use deep-cycle batteries in series/parallel to match the PCU voltage — e.g. four 12V batteries in series for a 48V system, or a single 51.2V lithium (LiFePO4) battery pack, which is what Su-vastika recommends today.
- Battery safety: place batteries in a ventilated, non-metallic enclosure and avoid sparks near terminals.
- Terminal connections: use thick flexible cables rated for the current, apply anti-corrosive gel on terminals, and install a battery fuse near the positive terminal.
Step 6 — Connecting the PCU
- Mounting: install the PCU on a wall or rack near the batteries, away from direct sunlight and moisture.
- Battery to PCU: connect battery terminals to the PCU's DC input, observing polarity, and tighten connections to prevent arcing.
- Panels to PCU: connect the solar array (+) and (−) cables to the PV input, with surge protection if required.
- AC load: wire the PCU's AC output to the household distribution board through a dedicated circuit breaker.
Step 7 — Earthing (Grounding)
- Panel earthing: bond panel frames to a separate grounding rod (GI/copper) with bare copper wire.
- PCU and battery earthing: connect the PCU chassis to its own grounding rod.
- Test: earth resistance should measure ≤5 ohms on an earth tester.
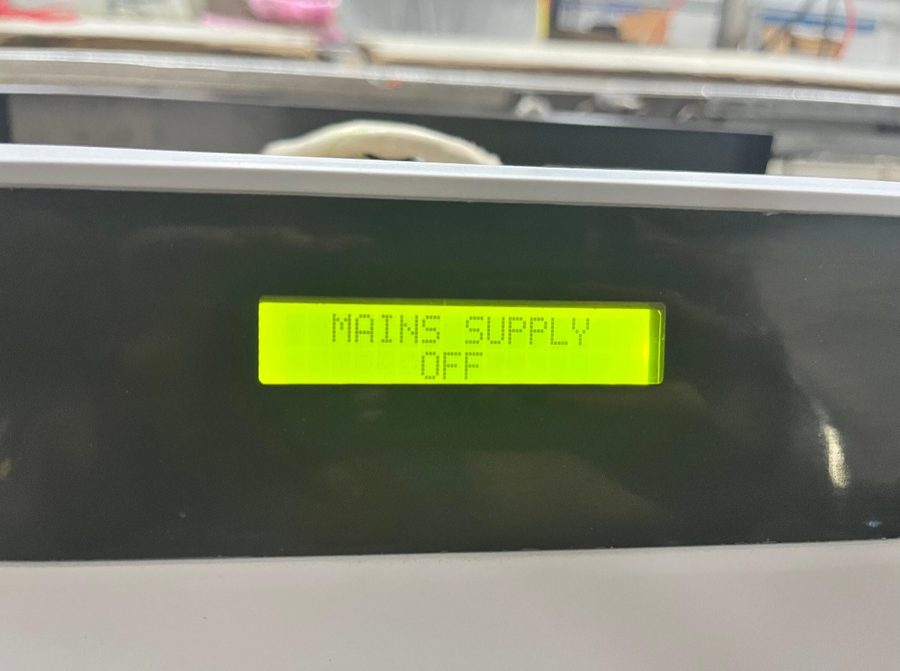
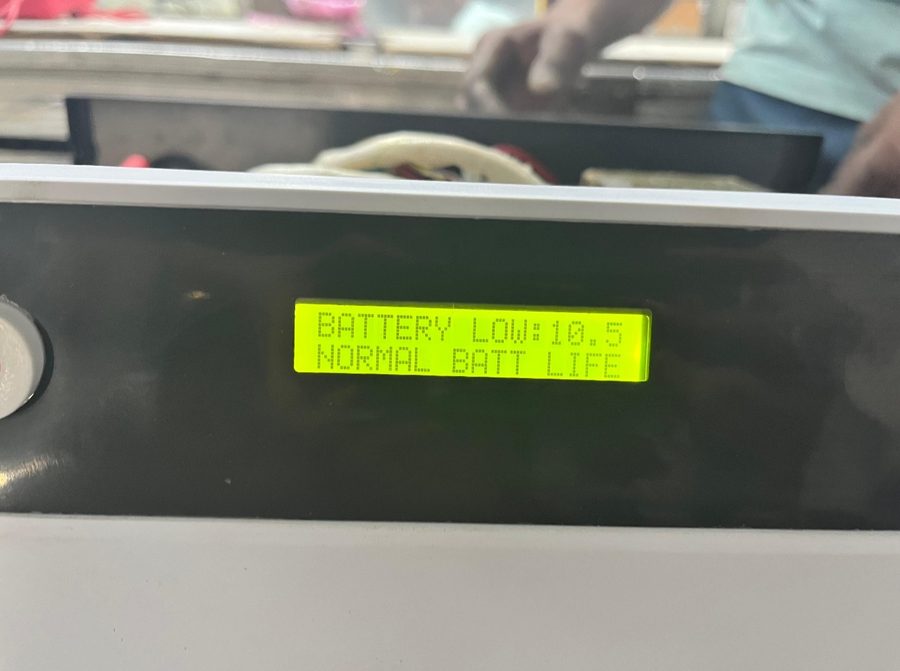
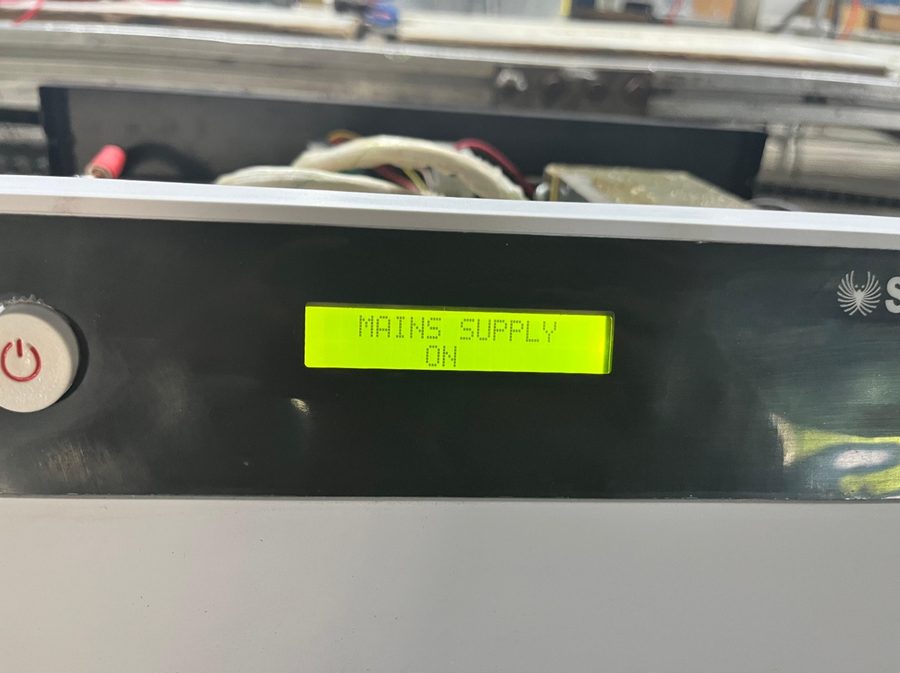
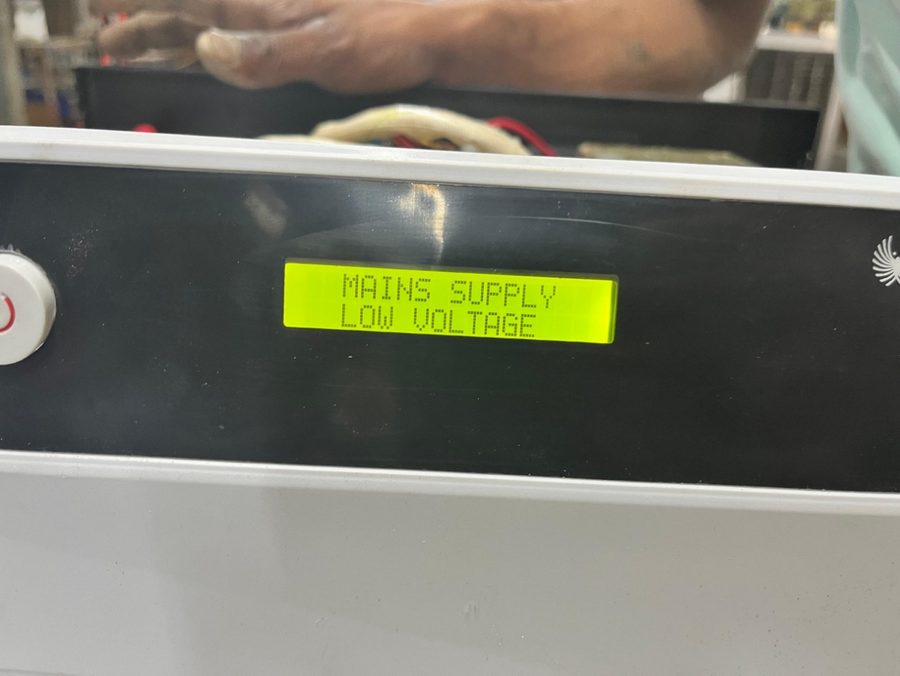
Step 8 — Testing & Commissioning
- Pre-check: verify every connection is tight and polarity is correct.
- Power-on sequence: solar isolator → battery isolator → PCU.
- Monitor: watch the PCU display for solar input voltage, battery state of charge and load output.
- Load test: connect appliances gradually and confirm the PCU carries the load comfortably.

Step 9 — Maintenance Tips
Clean solar panels monthly to remove dust (a dusty panel can lose 15–25% generation), inspect wiring and connections annually, and for older flooded lead-acid banks check water levels regularly — or upgrade to a maintenance-free lithium battery and forget about topping up entirely.
Installation Checklist at a Glance
| Step | Key check before moving on |
|---|---|
| Planning | Load calculated; PCU, panels, battery sized and compatible |
| Mounting | Shade-free, correct tilt, structure grounded |
| PV wiring | String voltage within PCU limits; isolator + DC fuse fitted |
| Battery | Voltage matches PCU; fuse near positive terminal |
| Earthing | Resistance ≤5 Ω measured with earth tester |
| Commissioning | Correct power-on order; load added gradually |
Critical Mistakes to Avoid
- ❌ Mixing panel types (e.g. mono + polycrystalline in one string).
- ❌ Overloading the PCU beyond its rated capacity.
- ❌ Skipping earthing or using undersized cables.
Key tools required: multimeter, crimping tool, MC4 connector wrench, insulation tape and an earth resistance tester. Always follow the manufacturer's manual and local electrical codes (NEC/IEC). India's rooftop solar push makes professional-grade installation more important than ever — pv magazine India notes how battery-backed solar systems are now replacing diesel generators across the country.
Frequently Asked Questions
Q. Can I install a solar hybrid PCU myself?
Mounting and planning are DIY-friendly, but PV wiring, battery connection and earthing involve live DC and should be done or verified by a qualified electrician following local codes.
Q. What is the correct power-on sequence?
Solar isolator first, then the battery isolator, then switch on the PCU. Reverse the order when shutting down.
Q. How important is earthing for a solar PCU?
Critical — it protects against shock and lightning surges. Use separate grounding rods for the panel frames and the PCU chassis, and verify resistance is ≤5 ohms.
Q. Which battery should I use with a solar hybrid PCU?
A lithium (LiFePO4) battery matching the PCU's system voltage (e.g. 51.2V for a 48V system) — it is maintenance-free, charges faster and lasts far longer than lead-acid.
Want a professionally installed solar hybrid PCU?
Su-vastika's MPPT solar hybrid PCUs come with lithium-ready charging, app monitoring and pan-India service support.
Explore Products Talk to an ExpertRelated guides
From Kunwer Sachdev’s Network
Want to compare prices before you buy?
India’s independent price-comparison and buying-intelligence hub for inverters, batteries and solar — zero affiliate bias.
➤ Compare inverter & UPS prices
➤ Lithium vs lead-acid — full guide
➤ Free backup calculator (lab-tested data)
The story of Kunwer Sachdev — 76+ patents, India’s first plastic-body inverter, and the journey that brought solar into millions of homes.
➤ Pioneer timeline of firsts
➤ Video library — the work in his own voice
Found this story worth sharing? Post it to your network — it takes one click:
About the Author
Kunwer Sachdev — known as the Inverter Man of India and the Solar Man of India. Founder of Su-Kam, holder of 106 technology filings, and mentor to Su-vastika. Read his story →
Follow on LinkedIn · kunwersachdev.com
Kunwer Sachdev exited Su-Kam in 2019 and is not responsible for any activity of the company since. Full disclaimer →
Part of the Series
Solar PCU & MPPT Charge Controllers: Complete GuideExplore Products
Su-vastika Solar PCU
25+ patents · Made in India · 10,000+ installations